MagOS Linux based on ROSA Marathon
It is nice to have ROSA on your own machine, but sometimes many of us meet the situation when it is necessary to work on other’s computers where you can’t change the operating system. In many cases LiveCD will help, and ROSA provides possibility to boot into Live mode from flash or CD/DVD. However, though been very useful in many aspects, the Live mode suffers at least from the following issues:
- you can save results of your work on a hard drive of computer, but it is not easy to save them of the flash drive from which you have booted;
- there is no possibility ti change system settings, save them and use during the next boot;
- finally, to burn ISO image on flash and boot into the Live mode, you should preliminary move all files from the flash to somewhere. Even if you have a flash with dozens of Gb of free space and ROSA iso image only needs 1.5 Gb.
All these disadvantage are absent in MagOS Linux. Traditionally, MagOS was based on Mandriva, and some time ago ROSA-based variation was introduced.
Distribution builds are available here: http://magos.sibsau.ru/repository/dist/. The build based on ROSA Marathon has 2012lts suffix (at the moment of writing this paper, the latest build was MagOS_2012lts_20130228.tar.gz).
The build is actually a tarball with three folders — boot, MagOS, MagOS-Data. To install MagOS on your flash drive, you should unpack the tarball and place these three folders in the root of your flash. There is no need to remove existing data from flash, but remember that the system needs about 2Gb of space.
Note that it is necessary to mount flash without 'noexec' option., to be able to launch scripts directly from it (this is required to make a flash with MagOS bootable). ROSA uses 'noexec' option by default, so you will have to mount your flash stick manually from the command line.
In order to do this, launch console with root privileges (e.g., in KDE press Alt-F2 and «kdesu konsole») and execute the following command:
mount -o remount,exec /dev/sdx /mount_point
(here /dev/sdbx is a device file corresponding to your flash drive, /mount_point is a directory where the flash is mounted).
Or just remount you flash stick:
mount -o remount,exec /dev/sdb1 /mount_point
Now copy boot, MagOS, MagOS-Data and folders to /mount_point, go to /mount_point/boot/syslinux folder and launch install.lin.
You will be asked if you are sure to make the device bootable. To agree, press enter.
Now leave the /mount_point folder and unmount the flash by 'umount /mount_point' command.
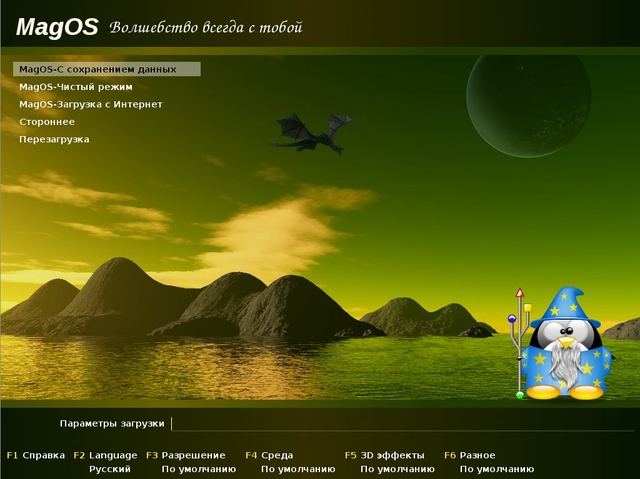
Now reboot your machine and boot from flash. You should see MagOS boot selection menu with several boot options.
The system is based on ROSA, but by default a standard KDE is used, without SimpleWelcome and RocketBar. Besides KDE, one can load Gnome or LXDE; to do this, logout and choose appropriate session type in the menu at the bottom of the screen. Remember that default user/password are user/magos.
MagOs Linux can be installed on flash not only in Linux, but in Windows, as well. It is also possible to install the system on a usual machine — either as a standalone system or inside existing Windows partition.
More details can be found at MagOS wiki (http://www.magos-linux.ru/dwiki/doku.php), but unfortunately for our foreign users, all documentation is in Russian. However, MagOS Linux is very easy to use, in most cases you won’t need any additional documentation at all. And for getting started, the documentation on wiki should be enough — though the text is in Russian, the commands to be executed should be clear for any user. Also note that the thing you would likely want to do after the boot first is to change locale of the system, which is set to Russian by default. To do this, just go to KDE CC, find locale settings and choose English (this option is available by default; to choose other languages, you will have to install appropriate localization packages — at least kde-l10n ones).

[ List view ]Comments
Please login to comment.